Rice Cooker Yogurt: Foolproof Temperature Control Guide
By Amara Okoye • 29th Nov
You know that sinking feeling when your rice cooker fails you before a family gathering? I've been there. My trusty old cooker burned basmati twice before a cousins-and-aunties potluck. With just a week until payday, I faced a choice: either buy an expensive yogurt maker, or figure out how to make my rice cooker work as a homemade yogurt appliance. That's how I discovered the price-to-texture math of fermentation (where reliable temperature control matters more than fancy gadgets). If fermentation intrigues you, our rice cooker sake guide shows the same temperature control principles applied to traditional rice wine. And you can do it too, without breaking the bank.
Why Temperature Makes or Breaks Your Yogurt
Yogurt isn't complicated. It's just milk plus bacteria. But get the temperature wrong, and you'll get thin, sour, or grainy results. The science is clear: dairy fermentation techniques require precision. Heat milk to 180°F for 20 minutes to kill competing bacteria. Then cool to 110°F before adding your starter culture. Too hot? You'll kill the probiotics. Too cold? Fermentation stalls. Finally, maintain 90-110°F for 7-8 hours (the temperature-controlled yogurt sweet spot where bacteria thrive).
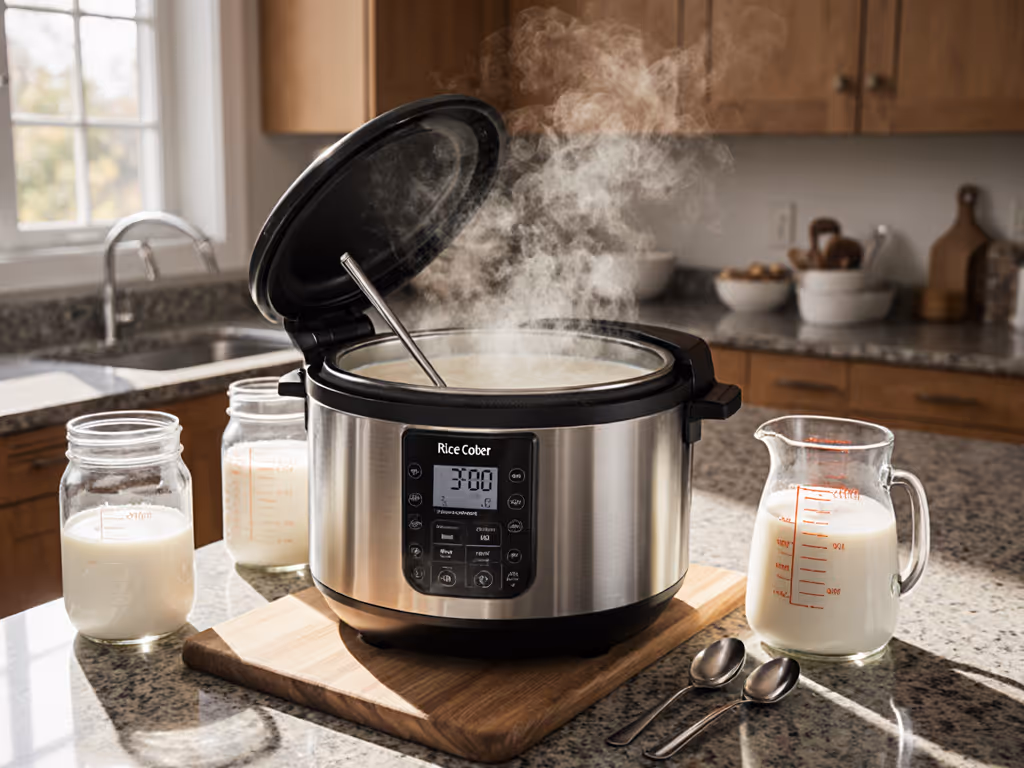
I've tested this with thermometers and finger tests (yes, the "can you hold your clean finger in for 10 seconds" trick works). Most failures happen during incubation. Your rice cooker's warm setting often runs too hot, hitting 115-120°F instead of the ideal 100-110°F range. This is where most home cooks give up. But with simple adjustments, any rice cooker becomes a reliable yogurt maker.
Three Practical Temperature Control Methods
Method 1: The No-Plug Technique (Most Reliable)
Most rice cookers (especially older models) have excellent insulation. Just pour your inoculated milk into a bowl, place it inside the unplugged cooker, and wrap the whole unit in a thick towel. No electricity needed. This method maintains 90-105°F for 8+ hours, perfect for probiotic-rich yogurt development.
- Cost: $0
- Time: 8 hours (no monitoring)
- Best for: budget cookers under $50, rental kitchens, energy-conscious households
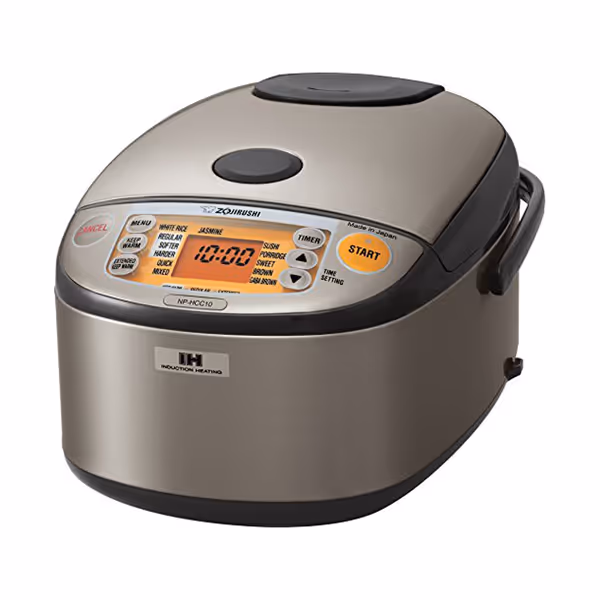
Zojirushi NP-HCC10XH Induction Heating Rice Cooker
Achieve consistently perfect rice texture with precise induction heating.
$358.44
Capacity1 Liter (5.5 cups uncooked)
Capacity1 Liter (5.5 cups uncooked)
Pros
Delivers perfect, consistent rice texture every time.
Specialized settings for various grains (GABA, sushi, jasmine).
Easy to clean with intuitive LCD control panel.
Cons
Cooking times can be longer than basic models.
Customers find the rice cooker makes perfect rice every time, with reliable performance and an easy-to-use control panel.
Customers find the rice cooker makes perfect rice every time, with reliable performance and an easy-to-use control panel.
Method 2: Warm Setting Cycling (For Modern Cookers)
Newer rice cookers often have programmable warm settings that kick off after a few hours. If yours stays on constantly, you'll need to cycle it: 30 minutes on, 30 minutes off. Check with a thermometer every 2 hours for the first batch. I found this method works well with Zojirushi models that maintain consistent low heat (though it's more hands-on than the no-plug technique). If you prefer app-based control and remote monitoring, see our smart WiFi rice cooker comparison.
- Cost: $0 (uses minimal electricity)
- Time: 8 hours with 2-3 check-ins
- Best for: Mid-range cookers ($50-$150), households wanting hands-off monitoring
Method 3: Water Bath Buffer (For Temperature-Sensitive Cookers)
Add 1-2 inches of 100°F water to your rice cooker before placing your yogurt bowl inside. The water acts as a thermal buffer, preventing hot spots. This works especially well with cookers that run hot on warm setting. I've used this method successfully with several budget models that otherwise burn basmati on keep-warm.
Your Step-by-Step Rice Cooker Yogurt Routine
Follow this timeline for consistent results every time:
Morning (30 minutes):
- Heat 1 quart milk to 180°F in a saucepan (20 minutes)
- Cool to 110°F (about 10 minutes; use an ice bath if needed)
- Whisk ½ cup starter yogurt into milk
Afternoon (10 minutes):
- Choose your temperature method above
- Load yogurt into rice cooker
- Set timer for 8 hours
Night (5 minutes):
- Check texture: Should be set but slightly jiggly
- Refrigerate uncovered for 2 hours
- Cover and chill 4+ hours before serving
Spend for texture you can taste, skip the glitter.
Small-batch tip: For single servings, use a mason jar inside your rice cooker. The narrower container maintains temperature better. And if you're using raw milk, extend the 180°F stage to 30 minutes for safety.
The Truth About "Yogurt Settings"
Many newer rice cookers tout special yogurt functions. Don't get hooked by marketing. I've tested models with and without these settings. The $120 Cuckoo with "yogurt mode" ran 10°F too hot, requiring manual intervention. Meanwhile, my $35 Black+Decker (no yogurt setting) made perfect results with the towel method. It's not about features (it's about verifiable temperature consistency).
Your best investment? A $6 instant-read thermometer. We also list helpful add-ons in our rice cooker accessories guide. Track actual temps for three batches. Compare texture results. Then calculate your real cost per successful batch. That's true price-to-texture analysis.
Take Action Today (Without Breaking Budget)
Grab your rice cooker and a thermometer tonight. Heat and cool a test batch of milk, then begin incubation using the no-plug towel method. Check temperature at 2, 4, and 8 hours. Note how it feels (your hands are your best tools for texture assessment).
This weekend, make your first real batch. Use whole milk (it's more forgiving) and plain store-bought yogurt as starter. Track your cleanup time versus the results. Within 48 hours, you'll know if your cooker delivers reliable texture per dollar.
The right kitchen tool isn't the one with the most features. It's the one that consistently delivers what you need, without demanding more of your time, energy, or budget than the results are worth. Your rice cooker can be that tool. Now you have the temperature control precision to make it happen.
Related Articles
Recipes & Cooking Techniques
Zero-Waste Rice Cooker: Recycle Water & Repurpose Leftovers
20th Apr•12 min read