Takoyaki Rice Cooker: Perfect Mouthfeel Method
By Mei-Lin Zhao • 8th Apr
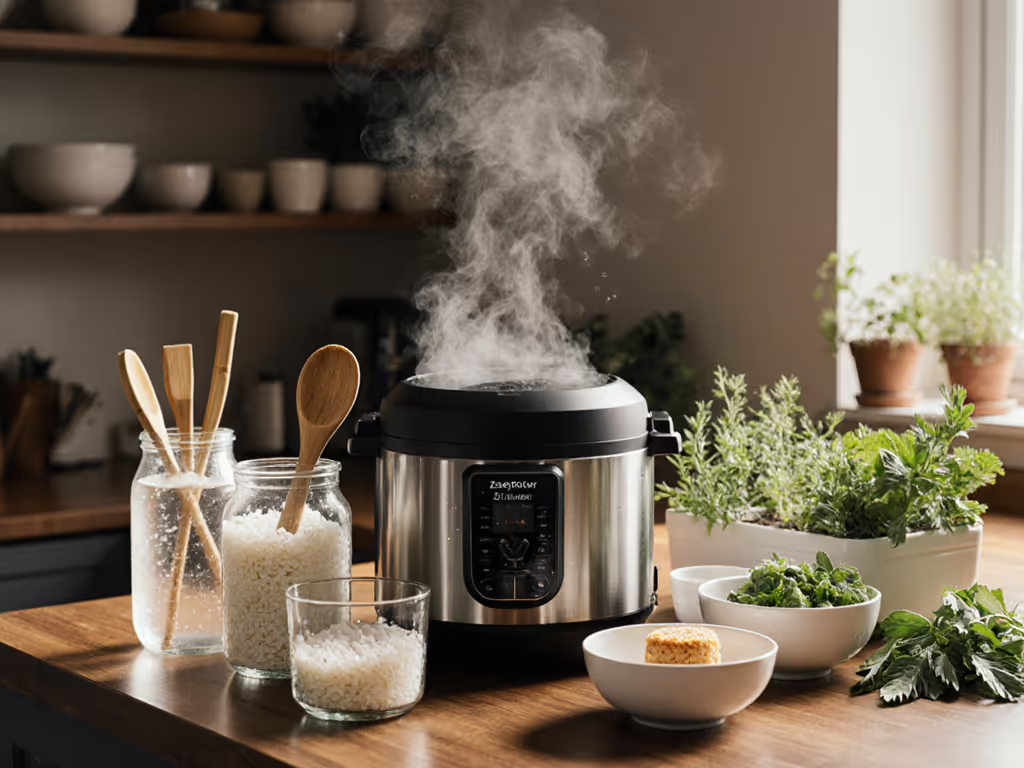
The takoyaki rice cooker (a specialized mold-insert appliance that transforms your daily grain cooker into a Japanese street-food station) represents a quiet revolution in home cooking. If you need the right mold and tools, see our rice cooker accessories guide for must-have add-ons. Unlike the theatrical, one-handed takoyaki pans you'll see at festival stalls, this tool removes the skill barrier without sacrificing authenticity. The challenge isn't the hardware; it's understanding that perfect takoyaki texture lives at the intersection of batter science, resting windows, and thermal precision. That's where hospitality lives in the pot.
FAQ: Mastering Takoyaki in Your Rice Cooker
What Makes Takoyaki Different When Cooked in a Rice Cooker?
A rice cooker takoyaki mold operates fundamentally differently from stovetop versions. Instead of hand-rolling molten batter over open flame, the mold sits flat on the rice cooker's heating base, cooking from below while trapped steam from the cooker's internal environment softens the exterior. This creates a distinctive texture: a barely-set, custardy interior (creamy but not raw) wrapped in a golden, crispy shell that shatters rather than bounces.
The sensory difference matters deeply. Stovetop takoyaki, rolled constantly to achieve a hollow center, yields a springy, almost bouncy bite. Rice cooker takoyaki, by contrast, develops a denser crumb inside, closer to a savory sponge cake. If you want an appliance that reliably handles recipes like takoyaki, look at our best rice cookers beyond rice comparison. Neither is wrong; the cooker method simply favors cooks who want consistency and precision over spectacle.
Why Does Mouthfeel Validation Feel So Personal?
In my auntie's Shanghai kitchen, texture wasn't discussed, it was felt. A pinch of cooled grain, a quiet tear between the fingers, and the conversation shifted. That tactile feedback told her everything: soak duration, rest window, the respect the grain had received. Takoyaki carries the same logic. When you bite into a ball and feel that precise yielding, exterior crackle, then immediate silken give, you're tasting whether the resting window was honored, whether the temperature was steady, whether the batter's hydration matched the cooker's steam profile. That texture validates the method and honors the dish.
What's the Ideal Japanese Batter Technique for Rice Cooker Takoyaki?
Batter composition is where data meets heritage. The classic ratio, 1 cup all-purpose flour, 1 cup cold dashi (or water with bonito-kombu stock), 1 egg yolk, 1 tablespoon neutral oil, 1/2 teaspoon salt, creates a viscosity calibrated for hand-rolling. For rice cooker use, precision shifts slightly.
Mix your dry ingredients (flour, 1/2 teaspoon baking powder, salt) and set aside. Whisk egg yolk into cold dashi separately, then fold in the dry mix with a few swift strokes (no more than 8-10). The batter should fall from a spoon in a thick ribbon, not pour. If it feels loose after resting 5 minutes at room temperature, adjust with 1 tablespoon flour at a time.
Rest the batter for 20-30 minutes before cooking. This window allows gluten to hydrate evenly and starches to fully absorb liquid. A rested batter adheres cleanly to the mold and cooks to a uniform crumb.
How Do You Achieve the Perfect Crispy-Creamy Contrast?
Temperature precision and timing lock this texture.
Setup: Preheat your rice cooker on the regular (not quick) cycle for 3-5 minutes. Brush the takoyaki mold cavities generously with neutral oil (grapeseed or vegetable) and warm oil (not cold) helps the exterior set faster.
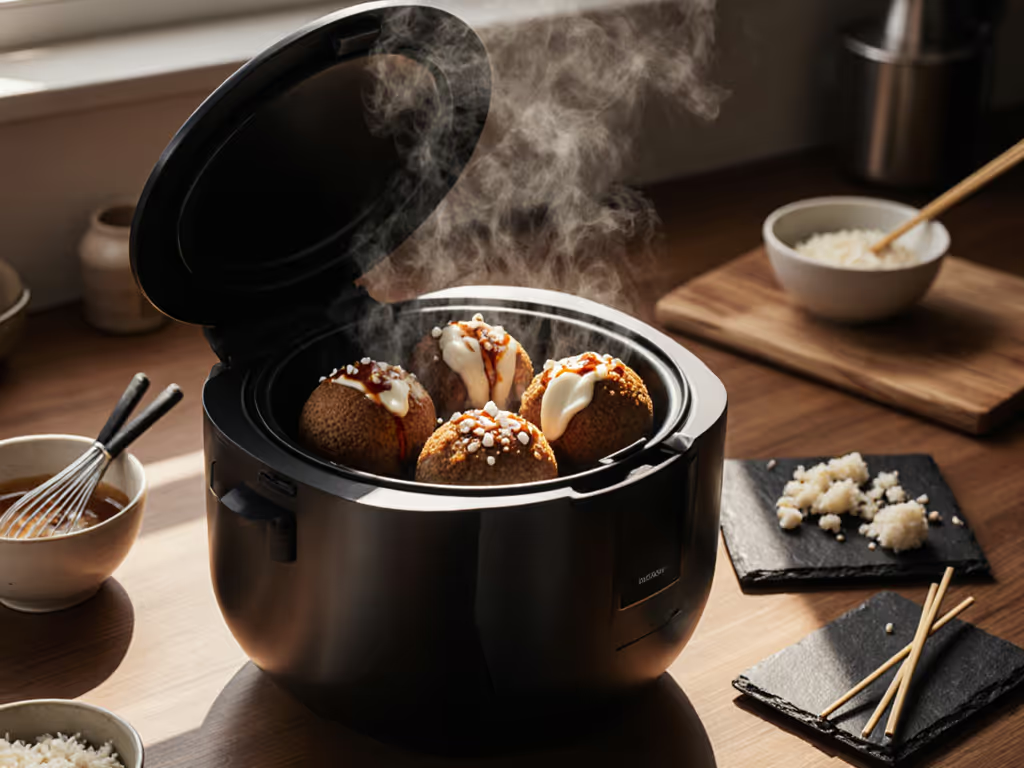
Fill and layer: Pour batter into each cavity until three-quarters full. Drop a piece of cooked octopus (pre-boiled for 45-60 minutes until tender, then cooled and diced into 1/2-inch cubes), a few diced scallions, and a sprinkle of tempura scraps (tenkasu) or panko into the center. Top with batter to just below the rim.
Cook time: On a standard rice cooker, the first 6-8 minutes develop the crispy exterior. At the 6-minute mark, use takoyaki picks or sturdy chopsticks to gently rotate each ball 90 degrees (don't flip fully yet). At 8-10 minutes, rotate again to complete the turn. Total cook time: 12-14 minutes until the exterior is golden and the mold feels light when you gently shake it.
Critical rest: Remove the mold and place takoyaki on a wire rack (not a plate, since contact with a warm surface softens the crust) for 3-4 minutes before serving. This brief window allows carryover cooking to set the creamy interior while the exterior firms to its crackling peak.
What About Filling Prep and Octopus Tenderness?
Octopus preparation is foundational. Frozen octopus (which is tenderized during freezing) requires only a 45-60 minute boil in salted water with a dab of miso (this lowers the pH and relaxes muscle fiber). Fresh octopus needs 90-120 minutes and a bay leaf. The test: a fork should pierce the thickest part with gentle pressure; resistance signals undercooked muscle, which will toughen in the takoyaki.
Cool the octopus completely (refrigerate 30 minutes minimum), then dice into 1/2-inch cubes. Chunks larger than 3/4 inch create uneven heat distribution inside the ball; smaller than 1/4 inch dissolve into the crumb, losing textural contrast.
Fillings beyond octopus: Cheese (mozzarella or cheddar cubes), shrimp (pre-cooked and halved), or mushroom (finely diced and squeezed dry) work within the same framework. The common rule: no filling should exceed 1/4 teaspoon of volume and must release minimal moisture.
How Do You Handle Small-Batch Consistency?
Most rice cooker takoyaki molds hold 8-12 balls. Consistency across small batches demands attention to fill volume and oil temperature.
First-batch oil cure: The first 2-3 balls always cook denser on the underside because oil hasn't reached thermal equilibrium. Rotate these slightly longer or remove them first, accepting they're your calibration. By batch two, the mold stabilizes.
Fill uniformity: Use a measuring spoon (1 tablespoon for batter, 1/2 teaspoon for filling) and fill in the same sequence, batter, filling, batter. This rhythm trains your hand; inconsistency vanishes by batch three.
Timing anchor: Set a phone timer for 6 minutes (first rotation), then 8 minutes (second rotation). Don't eyeball. By the 8-minute mark, you'll intuitively recognize the mold's audio cue (a faint sizzle that quiets as the liquid batter sets) but timers remove guesswork early on.
What Water-to-Flour Ratios Ensure Proper Texture?
The batter ratio (1:1 flour to dashi by volume) is a starting point, not dogma. For environmental adjustments by region, see our climate-zone cooker guide on humidity and temperature effects. Adjust for humidity: On humid days, flour absorbs 2-3% less liquid, making batter thicker. Add dashi 1 tablespoon at a time until the ribbon test works. In dry climates, you may need an extra tablespoon of dashi.
The dashi itself matters. Instant powdered dashi (hon-dashi) creates a slightly thinner crumb than fresh-steeped stock because it hydrates faster. If using instant, reduce dashi volume by 2 tablespoons and whisk the powder into the dry mix first to avoid clumping.
How Do You Troubleshoot Common Takoyaki Texture Failures?
Mushy, collapsing exterior: Batter ratio too wet or cooker's steam valve partially closed, trapping excessive moisture. Solution: add flour in 1-tablespoon increments and ensure the valve is fully open during cooking. For safe steam handling and myths, read our steam safety guide.
Rubbery, dense crumb: Overcooking (past 14 minutes) or batter not rested before cooking. Solution: cut cook time by 1 minute and always rest batter 20-30 minutes.
Raw, gummy center: Undercooking or filler moisture escaping into the crumb (wet octopus or unsqueezed mushrooms). Solution: add 1-2 minutes and pat fillings dry with paper towels before assembly.
Uneven browning (pale on one side): Mold not level on the cooker base. Solution: place a thin shim (folded foil) under one edge to level, or rotate the mold 180 degrees at the 6-minute mark.
Batter sticking to mold: Oil insufficiently warmed or mold not pre-oiled generously. Solution: brush oil again after the first batch, even if visibly oiled, oil absorbs into the takoyaki surface during cooking.
The Texture Validation That Deepens Every Bite
Honor the grain's story by nailing its bite. That wisdom extends beyond rice into takoyaki territory. When you master the resting window (that 20-30 minute batter pause and the 3-4 minute post-cook rest) you're respecting the same principle my auntie taught me: every component deserves its moment. The batter's gluten network expands in silence. The exterior's crackle forms in the cooling air, not in your rush to serve.
The texture that results, that unified sensation of crispness giving way to creamy depth, becomes proof that you've done the work. Your guests taste it the moment they bite. Conversation relaxes. Pride tastes tangible. That's what perfect mouthfeel method means in a takoyaki rice cooker: not gadgetry, but a framework that makes hospitality reproducible.
Further Exploration
If you're drawn to this level of texture precision in octopus ball preparation, consider deepening your practice in three directions:
-
Dashi crafting: Learning to steep your own kombu-bonito stock (rather than relying on instant powder) refines batter complexity. The subtle umami shift registers in the crumb's mouthfeel, a minerality that instant dashi rarely delivers.
-
Filling creativity across seasons: Map seasonal protein and vegetable availability to the takoyaki format. Spring shrimp and scallion, summer corn and cheese, autumn mushroom and miso butter, winter mochi and azuki. Each filling teaches you how moisture, flavor intensity, and textural contrast interact within the rice cooker's steam environment.
-
Comparative cooker geometry: Different rice cookers (induction-heating vs micom vs classic thermal) produce subtly different steam profiles. For deeper context, explore our thermal tech comparison. Documenting cook time and crumb texture across two or three cooker types reveals how appliance design shapes the final bite (useful knowledge if you ever upgrade or cook in someone else's kitchen).
Start with the method outlined here. Taste across batches 2-5 (after the calibration phase). Notice where your texture lands versus your ideal. That gap is your next experiment. That curiosity is where mastery lives.
Related Articles
Recipes & Cooking Techniques
Zero-Waste Rice Cooker: Recycle Water & Repurpose Leftovers
20th Apr•12 min read