Rice Cooker Onigiri Guide: Ratios, Texture, Shaping
By Mei-Lin Zhao • 29th May

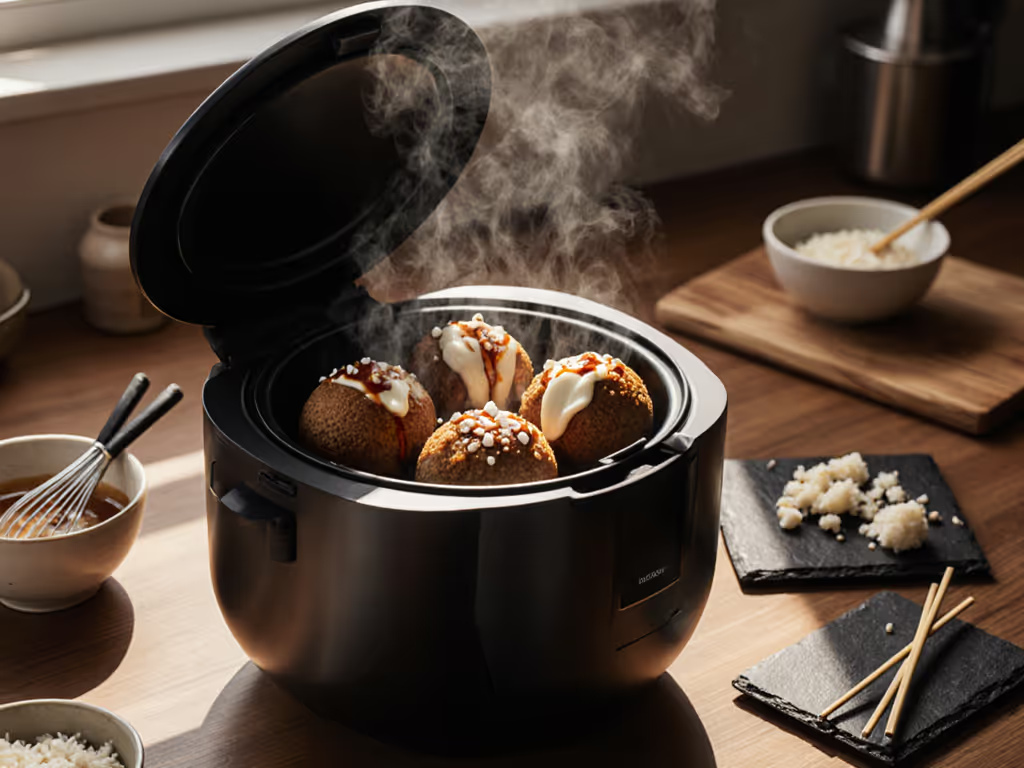
Rice cookers make onigiri radically more repeatable (if you treat them like lab equipment instead of mystery boxes). This rice cooker onigiri guide focuses on water ratios, rests, and shaping windows so you can dial in a perfect onigiri texture that's sticky enough to hold, but still shows each grain.
In my own testing, and in the quiet kitchens where aunties and obaa-sans judge by feel, the bite tells truth. When the grain tears softly instead of smearing, your Japanese rice ball preparation is already halfway home.

FAQ 1 - What rice should I use for onigiri in a rice cooker?
For classic onigiri, use Japanese short-grain white rice (uruchimai), sometimes labeled "sushi rice" or "short-grain rice". Long-grain varieties like jasmine or basmati will not give the cohesive, bouncy clump you need. For more on varieties and texture, see our rice types guide.
Within Japanese-style rice, here is how texture changes:
| Rice type | Use case | Texture impact on onigiri |
|---|---|---|
| 100% short-grain white (uruchimai) | Standard onigiri | Balanced stickiness, defined grains |
| Short-grain + 5-10% glutinous rice (mochigome) | Very soft, kid-friendly | Extra sticky, slightly denser bite |
| Short-grain + 10-30% brown short-grain | Health-leaning | Chewier, less cohesive; shape more firmly |
If this is your first serious batch, start with 100% Japanese short-grain white rice. Once you've memorized how that should feel, you can safely explore blends.
Honor the grain's story by nailing its bite.
FAQ 2 - What are the best onigiri rice ratios in a rice cooker?
Let's define a clear baseline in both rice-cooker cups and grams. If ratios still feel fuzzy, consult our foolproof water ratios guide for step-by-step calibration.
Most Japanese cookers use a 180 ml "rice cup." One level rice cup of Japanese short-grain is usually about 150 g raw.
Baseline ratios (short-grain white, sea-level, medium-hard water)
Per 1 rice-cooker cup (150 g) of raw rice:
- Firmer, travel-friendly onigiri (holds shape, distinct bite)
- 165-180 ml water (≈1.0-1.05 rice cups)
- Standard, everyday onigiri (balanced soft/sticky)
- 180-195 ml water (≈1.05-1.1 rice cups)
- Soft, comfort-style onigiri (for kids/elderly)
- 195-210 ml water (≈1.1-1.15 rice cups)
Many general guides suggest around 1.25 cups water per 1 cup sushi rice for very soft rice, then adjusting as needed. For onigiri, that's usually too wet (you want slightly less water than for typical donburi rice so your rice balls don't slump).
Quick conversion example
For 3 rice-cooker cups (≈450 g) of short-grain:
- Firmer: 3 × 170 ml ≈ 510 ml water
- Standard: 3 × 185 ml ≈ 555 ml water
Measure water in a jug, or fill to the "3" line for white rice in a Japanese cooker and subtract 5-10 ml per cup for slightly firmer onigiri.
When should I change the ratio?
Increase water slightly (+5-10 ml per cup) if:
- Rice is old/dry (over 1 year since milling)
- You live in a very dry climate
- You prefer softer rice for children or elders
Decrease water slightly (-5 to -10 ml per cup) if:
- Cooker tends to give wet results in 1-cup or 2-cup batches
- You are at high altitude and see excess surface mush (try firmer and extend soak; see below) At elevation, use this dedicated high-altitude rice cooking guide to adjust ratios and soak times.
Make only one change at a time (5-10 ml per cup), and record it. That's how you build a personal ratio map instead of chasing random internet numbers.
FAQ 3 - How should I rinse, soak, and cook for Japanese rice ball preparation?
Rinsing and soaking change starch behavior, which directly controls stickiness and surface gloss. For a deeper explanation, explore the science of cooking rice and starch gelatinization.
Step 1 - Rinse (2-5 minutes)
- Add rice to a bowl, cover with plenty of cold water.
- Swirl gently, then immediately drain cloudy water.
- Repeat with fresh water 3-5 times until water is mostly clear (a faint haze is fine).
- Drain in a fine sieve or tilted bowl for 5-10 minutes.
Rinsing like this removes loose surface starch so grains cling cleanly instead of forming gluey paste.
Step 2 - Soak in measured water
Transfer rinsed, drained rice to the cooker bowl and add your exact cooking water (according to your chosen ratio).
- White short-grain: Soak 20-30 minutes at room temperature.
- Old/dry rice: Soak up to 40 minutes.
One common tip is to let rinsed rice sit before cooking so it pre-absorbs some moisture and cooks more evenly. Soaking inside the cooking water gives you tighter control: the grain hydrates from the same pool it will later cook in.
Step 3 - Cook and rest
- Use the white rice or regular setting (avoid "quick cook" for onigiri).
- When the cooker beeps, do not open it yet.
- Let rice rest on keep-warm or residual heat for 10-15 minutes.
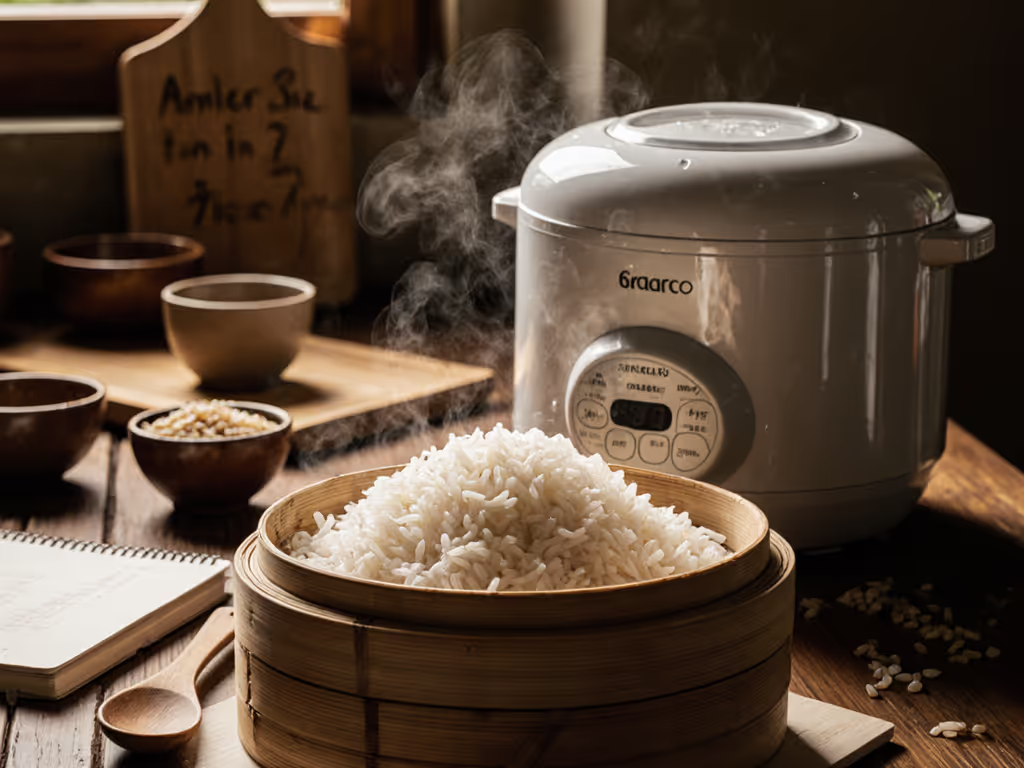
After resting, gently cut and lift the rice with a paddle. Do not stir vigorously, think of lifting and turning blocks so you don't crush grains. Cover the bowl with a damp cloth or lid until shaping time to prevent surface drying.
FAQ 4 - When is the rice at the perfect onigiri texture for shaping?
Timing here is non-negotiable. Shape too hot and the rice smears; too cold and it won't knit together.
Aim to shape when:
- Rice is warm but handleable (about 65-75 °C internally; you don't need a thermometer, but it should feel quite warm, not scorching).
- Grains look glossy, not chalky.
- A small clump holds together when pressed gently, but individual grains are still visible.
A simple test I use, learned in a Shanghai kitchen and cross-checked against rice-cooker data:
- Drop a teaspoon of cooked rice onto a cool plate.
- Wait 30-60 seconds.
- Pinch one grain and pull:
- If it smears silently, the rice is overhydrated or over-hot for onigiri.
- If it gives a quiet tear and the grain retains its shape, you're in the ideal window.
For onigiri, the bite tells truth.
If the rice is too hot to touch comfortably, fan it or spread it briefly in a wide bowl, then cover with a damp cloth. Avoid letting it fall all the way to room temperature before shaping; cohesion drops quickly once fully cooled.

FAQ 5 - What are the core rice ball shaping techniques?
You can shape onigiri by hand or with a mold. Both can be excellent if you control pressure and salt.
Hand-shaping (classic method)
- Prepare a small bowl of water and a small plate of fine salt.
- Wet your hands, shake off excess, then lightly touch fingers to the salt and rub palms together.
- Place 1/3-1/2 cup of warm rice (about 70-90 g) in one hand.
- Make a shallow indent in the center; add 1-2 teaspoons (5-10 g) of filling.
- Fold rice over the filling, enclosing it completely.
- Form a gentle triangle: use one palm as a "base" and the fingers of the other hand to define each corner, rotating the rice ball 2-3 times and pressing lightly each turn.
Key points:
- Compress enough so the rice ball holds together when picked up, but stop well before it becomes dense or gummy.
- Target a thickness of 3-4 cm at the center for even bite.
- Place finished onigiri on a tray and cover with a damp cloth so they don't dry out as you continue shaping.
Mold-shaping (consistent, beginner-friendly)
Molds are useful for batch consistency:
- Salt and gently mix a larger bowl of rice with your paddle.
- Add a thin layer of rice to the mold bottom, press lightly.
- Add your filling (around 1/2-1 tablespoon).
- Cover with more rice to about 3/4 full.
- Press with the lid gently but firmly, then release.
- Optionally finish with a light hand-press to adjust edges and ensure even salting.
Both methods benefit from practice with no filling first. Once you can form stable, unfilled triangles that don't crack, introduce fillings.
Wrap with nori just before eating so the seaweed stays crisp. If packing for lunch, keep nori separate and wrap at serving time.
FAQ 6 - How much salt and filling should I use for authentic onigiri?
Historically, salt and filling preserved the rice; modern home kitchens usually prioritize flavor and food safety rather than long, unrefrigerated storage.
Salt levels
A practical range for home onigiri:
- 0.5-0.8% salt by cooked rice weight for same-day eating
- Example: For 600 g cooked rice, that's 3-5 g of salt (about 1/2-3/4 tsp fine salt)
You can get close without scales:
- Lightly salt a bowl of rice before shaping and salt your damp hands.
- Avoid large visible salt grains on the surface; you want a gentle, even salinity throughout.
Authentic onigiri filling guidance
An authentic onigiri filling is usually strongly seasoned and concentrated, because it flavors each bite from the center out. Some widely used, but regionally varied, examples:
- Umeboshi (pickled plum)
- Shiozake (salted grilled salmon)
- Kombu or wakame simmered in soy sauce (kombu tsukudani)
- Okaka (bonito flakes with soy)
- Tuna with mayonnaise and soy
Guideline:
- Use 1-2 teaspoons (5-10 g) of filling per onigiri.
- Make sure the filling is completely enclosed to avoid leaks and drying.
Too much filling breaks structure; too little makes the center taste hollow. Pay attention to how the rice wall looks when you bite through, then adjust the filling volume next batch based on that cross-section.
FAQ 7 - How do I scale this rice cooker onigiri guide up or down?
Rice cookers often struggle with very small batches, especially below 2 rice-cooker cups.
For 1-2 cup batches
- Stick to the manufacturer's minimum capacity. If it's 2 cups, don't cook 1 cup.
- If your cooker allows 1 cup, reduce water ratio by about 2-3% compared with your 3-cup baseline, because small thermal mass can cook slightly wetter.
- Open and fluff promptly after the 10-15 minute rest to release excess steam.
For 4-6 cup batches
- Use the same ratio you dialed in at 2-3 cups; most mid-size cookers are tuned for this range.
- After cooking, rest 15-20 minutes so the core finishes steaming.
- When shaping, pull rice from the sides first; the very center of the pot may be slightly softer.
Always adjust in small increments (5-10 ml per cup) and keep notes. After 2-3 data points, you will know exactly how your specific cooker behaves for onigiri.
FAQ 8 - How do I keep texture right if I'm making onigiri ahead?
Texture degrades in two predictable ways: drying and staling.
Shaping window
- Shape within 30-60 minutes after cooking (including rest time).
- If holding rice before shaping, keep it in the cooker for no more than 1 hour on keep-warm, covered with a damp cloth or lid slightly ajar so condensation doesn't drip back and make the surface mushy.
Storing finished onigiri
For same-day eating:
- Let onigiri cool to room temperature.
- Wrap individually in plastic, beeswax wrap, or place in an airtight container.
- Store at cool room temperature if eaten within a few hours; otherwise refrigerate.
Refrigeration will firm and slightly dry the rice. For better bite:
- Rewarm briefly (20-30 seconds) in the microwave with a lightly damp paper towel on top, just until the surface softens and the center is slightly warm.
- Add nori only after reheating.
If you often find next-day onigiri too dry, increase your cooking ratio by 5 ml water per cup and/or reduce salt slightly (salt accelerates perceived dryness).
FAQ 9 - What should I experiment with next?
Once you have a stable workflow, treat your kitchen like a small rice lab. Choosing hardware for this goal? See our onigiri texture test comparing models for sticky-rice performance.
- Run A/B tests: same rice, two water ratios (e.g., 180 vs 190 ml per cup). Label each batch and compare bite side by side.
- Try a 10% brown short-grain blend for more chew, adjusting water up by 10-15 ml per cup and extending soak to 40 minutes.
- Explore yaki-onigiri (grilled rice balls): start with the firmer ratio, brush with soy, and grill until the crust crackles but the center stays moist.
Over time, map your own "texture profiles" the way families map stories: which ratio feels right for your weekday lunches, which soak and rest window makes guests pause mid-conversation because the rice is that good. When your cooker steps reliably match the memory of your favorite hand-shaped onigiri, you'll know you've hit it, because the bite tells truth.
Related Articles
Recipes & Cooking Techniques
Zero-Waste Rice Cooker: Recycle Water & Repurpose Leftovers
20th Apr•12 min read