Science-Backed Low Glycemic Rice Cooking Guide
By Luis Miguel Ortega • 5th Nov
When your rice cooker becomes a tool for metabolic health, every grain matters. Choosing low glycemic rice isn't just about selecting a variety; it is about precise cooking methods that transform your daily bowl into steady energy fuel. For households managing diabetes or seeking stable blood sugar, the right technique turns rice from a blood sugar spike risk into a consistent, satisfying staple. I'll show you how to maximize low-GI benefits through evidence-based cooking, cleanup efficiency, and accessibility-focused routines.
Why Low Glycemic Rice Matters
Low-GI rice (under 55 on the glycemic index scale) digests slowly, releasing glucose gradually. This isn't just theory; studies link it to 20% lower diabetes risk in high rice consumption regions like Asia. But here is what most guides miss: your cooking method impacts GI more than variety alone. For a deeper explanation of starch gelatinization and temperature control, see our science of cooking rice guide. A Harvard study confirmed that cooling cooked rice increases resistant starch by up to 2.5x, effectively lowering its GI. This matters whether you're cooking Doongara (GI 28), Sona Masoori (GI 51), or brown rice.
Resistant starch is your hidden ally: It acts like fiber, slowing glucose absorption. Industry studies confirm proper cooling techniques can convert up to 15% of rice's starch into this blood sugar friendly form.
The Science in Your Kitchen
Three factors determine your rice's glycemic impact:
- Rice variety (amylose content): Higher amylose = lower GI (e.g., Doongara > Sona Masoori > standard white)
- Cooking method: Excess water leaches nutrients; precise hydration preserves resistant starch
- Cooling technique: Critical for maximizing resistant starch formation
Most home cooks overlook #3, the cooling phase. Let's fix that.
Your Actionable Low-GI Cooking Protocol
Step 1: Choose and Rinse Right
- For diabetics: Prioritize Sona Masoori or Doongara. If unavailable, standard brown rice (GI 50-55) works when cooked properly.
- Rinse lightly: 2-3 swishes only. Over-rinsing removes surface starch needed for resistant starch formation during cooling. Safety note: Never skip rinsing entirely (dust residue affects taste and texture).
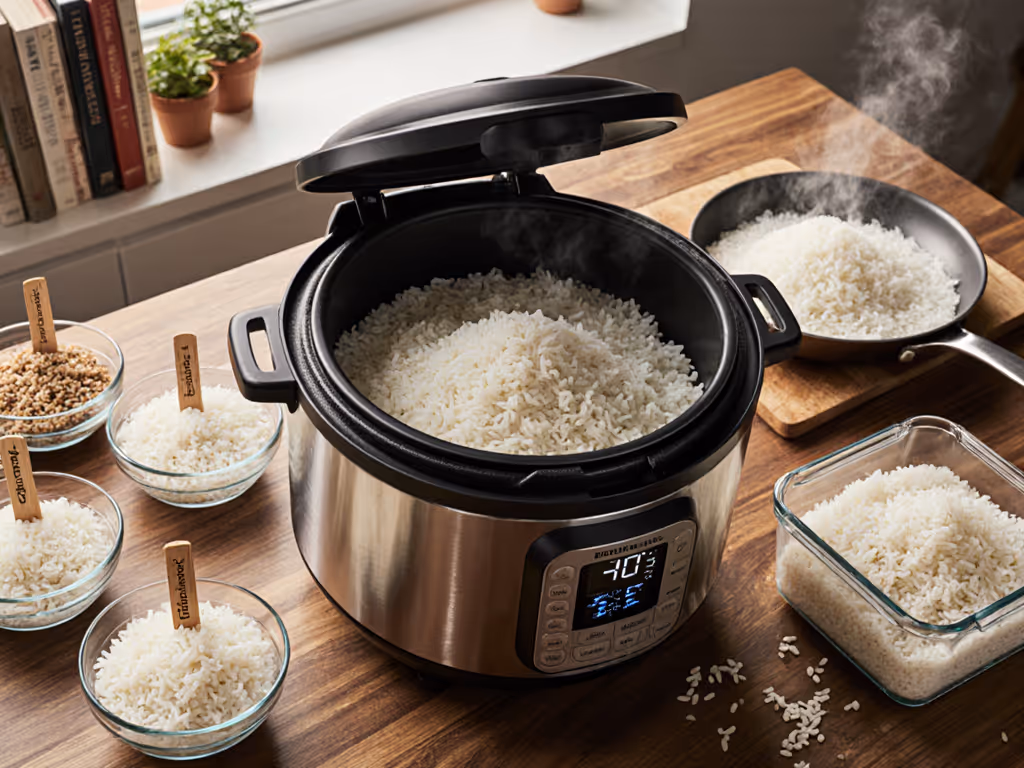
Step 2: Precision Cooking (The Rice Cooker Advantage)
Use a rice cooker with these settings: If you're unsure about hydration settings, bookmark our rice cooker water ratios guide.
- Water ratio: 1.1:1 (rice:water) for brown/low-GI varieties. Why? Less water = denser grains = slower digestion. Standard white rice typically uses 1.25:1, but low-GI rice needs less.
- Cook time: 12-15 minutes at 100°C (standard rice cooker setting). Longer boiling breaks down starches too much.
- No peeking: Steam loss alters temperature consistency. Pro tip: If your hands shake (like my dad's), choose models with lid locks and clear timers (no squinting required).

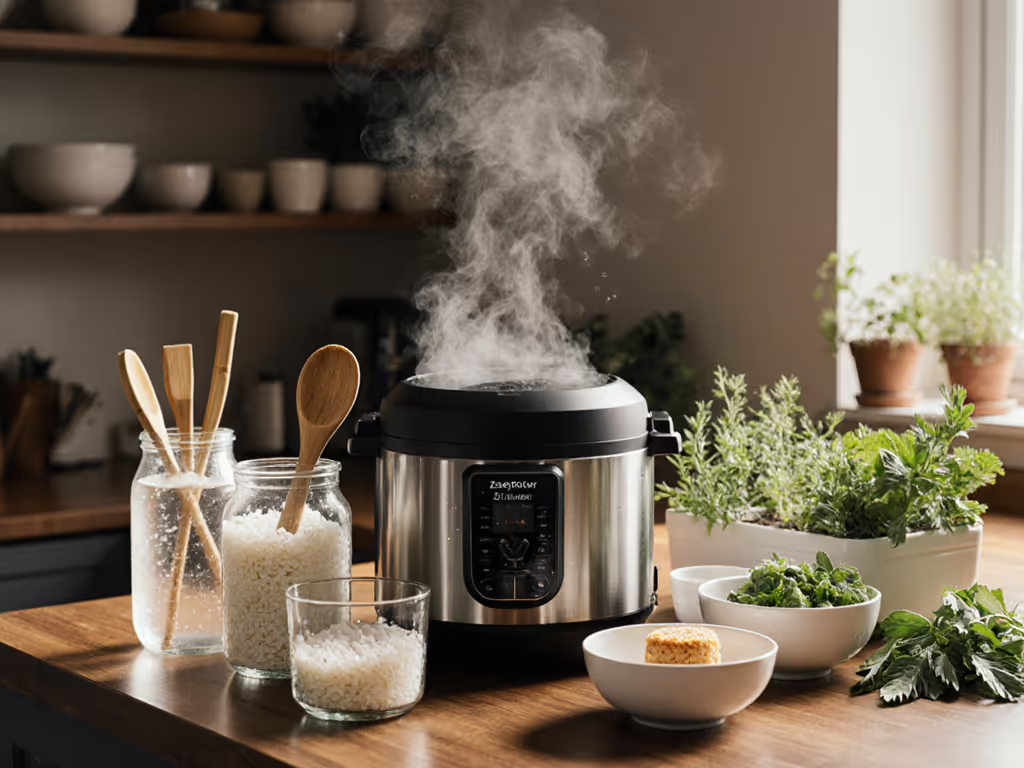
Zojirushi NS-ZCC10 Neuro Fuzzy Rice Cooker
Achieve perfect rice texture every time with Fuzzy Logic precision.
$193.99
Capacity5.5 cups
Capacity5.5 cups
Pros
Consistent, perfect rice texture (fluffy, sticky, chewy)
Neuro Fuzzy logic adapts for various rice types and conditions
Extended keep-warm maintains freshness for hours
Cons
Higher price point than basic models
Customers find this rice cooker produces perfect results every time, cooking rice evenly and making the best-tasting results. The appliance is extremely simple to use and convenient to set and forget, with a removable lid that makes cleaning easy. Moreover, it keeps rice at room temperature and automatically switches to keep warm mode. While some customers consider it worth the price, others feel it's not worth the money.
Customers find this rice cooker produces perfect results every time, cooking rice evenly and making the best-tasting results. The appliance is extremely simple to use and convenient to set and forget, with a removable lid that makes cleaning easy. Moreover, it keeps rice at room temperature and automatically switches to keep warm mode. While some customers consider it worth the price, others feel it's not worth the money.
Why Cooling Matters More Than You Think
This is where 90% of home cooks lose the low-GI benefit. Resistant starch forms only when cooked rice cools properly.
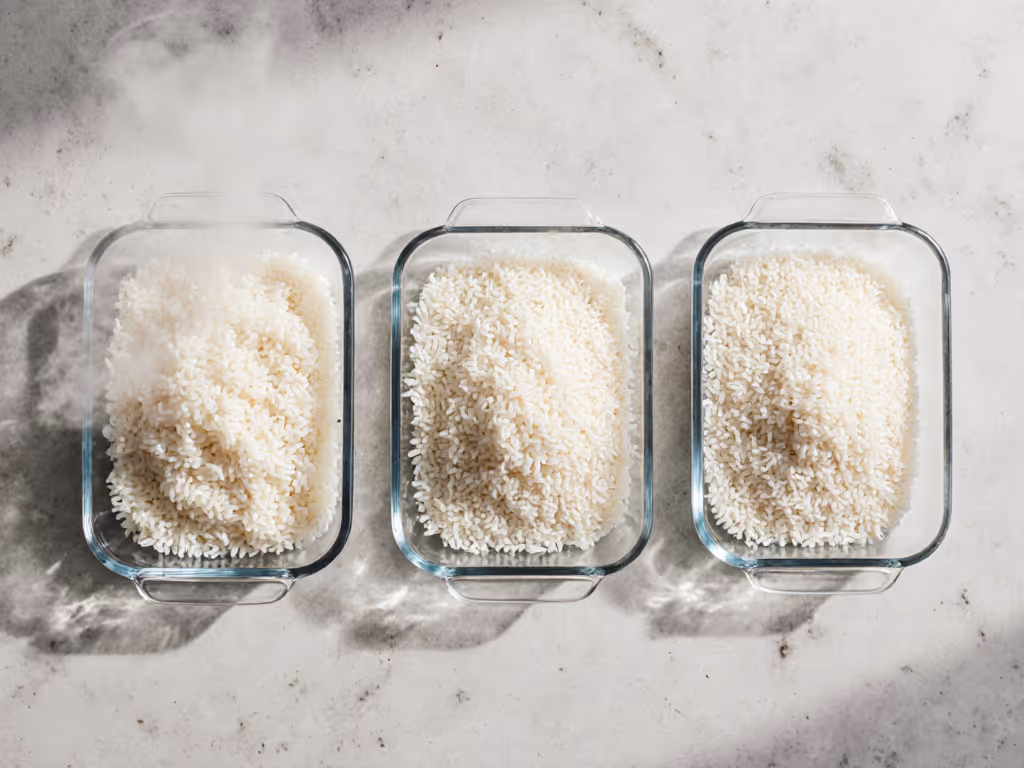
The Cooling Rice Technique:
- Spread immediately: Transfer cooked rice to a shallow glass dish (metal conducts heat too fast).
- Air-cool 30 minutes: Don't refrigerate yet. Let it drop to 50°C (122°F), which is critical for starch crystallization.
- Refrigerate uncovered: 12+ hours. This completes resistant starch conversion.
Cleanup note: Use a non-abrasive sponge immediately after cooking. Starch hardens fast, so aim for <5 cleanup minutes before it sets.
Step 3: Reheating Without Losing Benefits
Reheating destroys some resistant starch, but smart methods preserve 80%:
- Steam, don't microwave: Adds moisture without overheating grains
- Low temp oven: 140°C (284°F) for 15 minutes
- Never reboil: High heat reverts starch to digestible form
Critical safety note: Discard rice left at room temperature >2 hours. Low-GI doesn't equal pathogen resistance.
Making It Work for Real Life
Your Low-GI Rice Prep Checklist
- Use 1.1:1 water ratio for brown/low-GI rice
- Spread cooked rice in shallow dish immediately
- Cool 30 minutes at room temperature
- Refrigerate uncovered 12+ hours before eating
- Steam when reheating (not microwave)
- Track cleanup minutes: <5 minutes prevents starch buildup
Adapting for Your Home
Small kitchens? A compact cooker like the Instant Pot Duo Mini handles single portions without gummy results. Compare results in our Instant Pot vs rice cooker texture test. Its precise temperature control prevents the mushy texture that ruins low-GI efforts. Why this matters: Tiny batches often overcook in standard cookers, negating low-GI benefits.
Altitude adjustment? Above 2,000 ft: Add 2 minutes to cooking time. Test with a thermometer (target internal temp of 99°C) before cooling.
Cleanup friction fix: Rinse the pot while warm (but not hot!). For long-term performance and easier cleanup, follow our rice cooker descaling and maintenance guide. Resistant starch hardens into stubborn residue if cooled in the cooker. This is where "cleanup minutes" become confidence clicks, knowing your bowl is spotless before residue sets.
The Real Win: Consistency Over Perfection
Low-GI rice isn't about restrictive diets. It is about healthy rice preparation that fits your rhythm: set a delay timer the night before, wake to perfectly cooled resistant starch rice, and spend less than 5 minutes cleaning. When your rice cooker runs reliably while you sleep, you've won the daily battle against blood sugar spikes.
Less fiddling, more consistent bowls, everyday reliability wins dinners.
Your next step: Cook your next batch of brown rice using the 1.1:1 ratio and cooling technique. Measure your cleanup minutes. Notice how the texture holds up in stir fries tomorrow, proof that resistant starch works. This is kitchen dignity in action: Confidence clicks when your bowl meets both health needs and cultural joy.
Related Articles
Recipes & Cooking Techniques
Zero-Waste Rice Cooker: Recycle Water & Repurpose Leftovers
20th Apr•12 min read