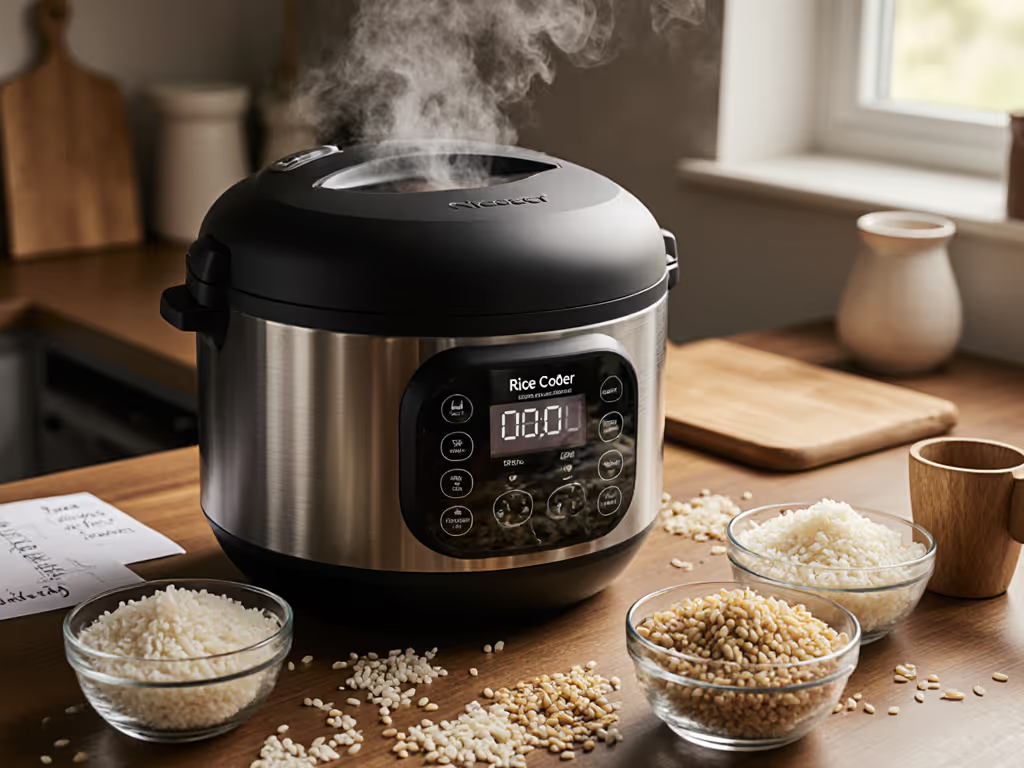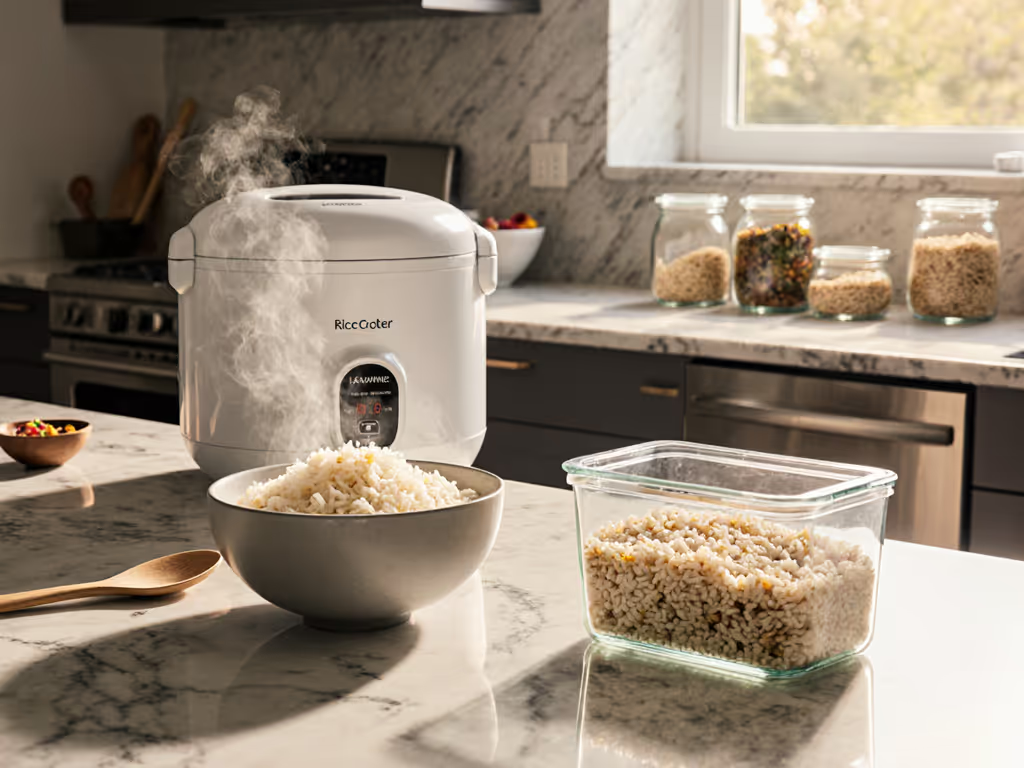
Rice Cooker Basics, Care & Safety
Resistant Starch Rice: Cooling for Better Health
19th Mar•10 min read

The rice cooker temperature sensor (often called the thermal sensor or thermostat) is the engine driving your cooker's entire cycle. Unlike assumptions about fuzzy logic or fancy heating modes, what actually determines whether your basmati emerges fluffy or mushy, your jasmine distinct or gummy, is thermal-curve accuracy. This sensor reads the temperature at the base of the cooking vessel, detects when water has boiled away, and signals the cooker to transition from cook mode to hold mode. Without it functioning precisely, even the most expensive induction heating or pressure-based system fails to deliver.
The thermal sensor typically consists of a spring-loaded plunger with a magnet at its core. As the pot heats, the magnet's field strength changes with temperature, triggering a mechanical or electrical response. This is why pot geometry matters (the sensor must sit flush and centered against the vessel's bottom). Any gap, debris, or misalignment prevents accurate heat reading and shortens your cooking cycle prematurely.
The most frequent culprit is not sensor age but neglect. When cooking multiple grains (millet, urad blends, short-grain rice), mineral deposits, starch films, and rice bran accumulate on both the heater plate and the sensor tip. These layers act as thermal insulation, blocking heat transfer and forcing the sensor to misread temperature. Your cooker then exits the boil-off stage too early, leaving rice partially cooked. You stir, add water, and cook again, a cycle that destroys repeatable results.
Cleaning the sensor is not optional; it's a protocol step. For step-by-step maintenance, see our descaling and maintenance guide. Unplug the unit, wait for it to cool, and wipe the sensor and heater plate with a damp cloth or soft brush. Do this after every 10-15 cooks, especially if you rotate across grain types with different starches and densities.
Over months of daily use, the spring compresses, the magnet can shift, or the plunger rod becomes sticky. Worse, if the cooking vessel has been dented or bent (even slightly), it lifts away from the sensor, creating an air gap. Since heat transfer is now impeded, the sensor reads lower temperatures than actual, and your cooker burns the bottom or leaves the center wet.
If you've dropped your pot or noticed a dent, inspect it carefully. A deformed pot is often cheaper to replace than the troubleshooting cascade it triggers.
Separate from the sensor itself, many cookers include a thermal cutoff or fuse that acts as a safety switch. If internal temperature exceeds a threshold (typically around 195°C / 383°F), this fuse breaks to prevent fire. Once blown, the fuse blocks power to the heating element entirely. Unlike a recalibrated sensor, a blown thermal fuse requires replacement, not cleaning.
Before opening the cooker, note your symptoms:
Unplug the unit and let it cool for 10 minutes.
Open the cooker (usually by peeling back or unsnapping the bottom housing) and visually inspect the sensor and heater plate. Look for:
If you see buildup, stop here and clean thoroughly with a soft, damp cloth. Dry completely before reassembling. This resolves about 70% of reported issues in field repairs.
Place the cooking vessel back into the cooker and press down gently. The pot should sit flat and centered, with the sensor tip making full contact with the pot's base. If the pot rocks or the sensor doesn't touch, the pot is warped or the sensor has shifted.
If cleaning and pot fit checks don't resolve the problem, you can test the thermal cutoff using a multimeter set to continuity mode. Place the meter's probes on either end of the thermal cutoff. If the meter beeps, continuity is intact and the fuse is functional. If it doesn't beep, the fuse is blown and must be replaced.
Note: This requires electrical safety awareness. If you're uncomfortable working inside the cooker's electrical housing, contact the manufacturer or a repair technician. For brand-specific fault messages and fixes, see our error codes troubleshooting guide.
Once your sensor is clean and the pot is fitted properly, validate thermal accuracy across your regular grains. I kept a shelf of jars (millet, Bhutanese red, urad blends, quinoa), then cycled them through thermal maps to see which cookers adapted without babysitting. The one that adjusted after a brief stir at 6 minutes saved energy and kept structure. The lesson: cross-grain repeatability beats single-setting hype every time for kitchens like ours.
Here's a practical validation:
During this validation, monitor the cooker's watt-hour consumption (visible on your electricity meter if you have a smart plug). For model-by-model energy data and keep-warm draw, see our energy efficiency comparison. A functioning sensor should stabilize the heating curve: rapid rise during boil, plateau once water is absorbed, then minimal draw during hold mode. If your cooker's energy use spikes erratically or stays high during hold mode, the sensor is likely cycling on and off incorrectly, a sign of misalignment or wear.
If you live at high altitude or use water with high mineral content, schedule a sensor cleaning every 6-8 weeks instead of every 10-15 cooks. Hard water deposits form faster and will compress the cook cycle. Altitude affects boiling point; at elevation, water boils at lower temperatures, so the sensor reads the temperature signature of boil-off differently. A clean sensor is your best defense against these regional variables.
If your sensor shows visible damage (deep scratches on the magnet contact, a bent or stuck plunger, or corrosion), cleaning won't restore it. Replacement thermal sensors are available from the cooker's manufacturer or aftermarket suppliers. Installation requires removing the bottom housing and unclipping the old sensor, then seating a new one in the same orientation. Always note the position of the sensor's feet relative to the housing; misalignment will lock the plunger and prevent movement.
Thermal cutoff replacement is more involved and typically requires desoldering the old fuse and soldering a new one in place (a task best left to authorized repair centers unless you have electronics experience).
Your rice cooker's thermal sensor is not a black box; it's a mechanical system that responds predictably to cleanliness, alignment, and temperature gradients. Most inconsistencies (mushy batches, dry batches, shortened cycles) trace back to a dirty or misaligned sensor, not a failed cooker. By adopting a simple monthly inspection and bi-weekly cleaning routine, you'll maintain the repeatable textures and energy efficiency your grains deserve. Test your cooker across the grains you cook most, track results, and you'll recognize immediately when performance drifts and when intervention is needed. That's evidence-first cooking (and the path to reliable, predictable rice every time).